

Create a project and add an app
Before you add the SDK to your code, set up a project in the BNotify Console, register your app, and download the config file. Then follow the platform integration guide.
Console first (this page) → download the config file → then Android or iOS SDK integration.
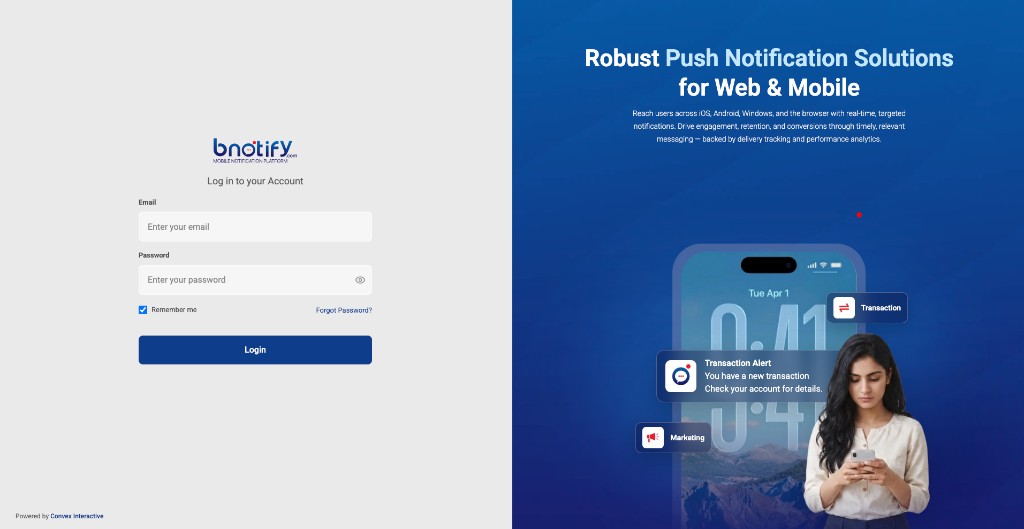
Step 1 — Open the Console and log in
Open https://console.bnotify.com/. Enter your email and password, then click Login.
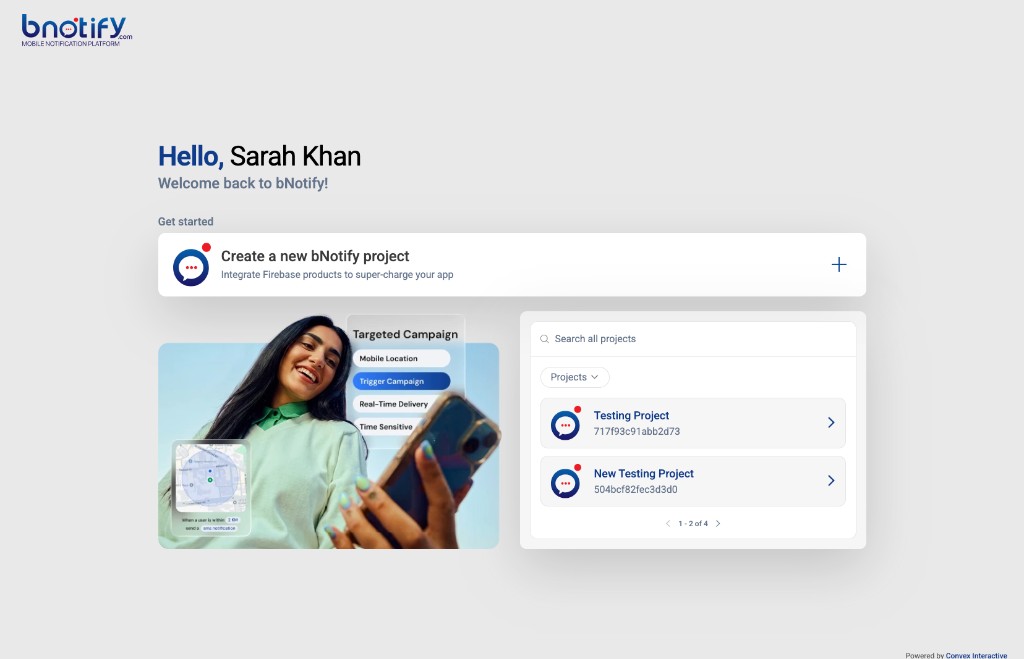
Step 2 — Create a new project
After login you land on the projects home. Click Create a new bNotify project (the plus control on the card).
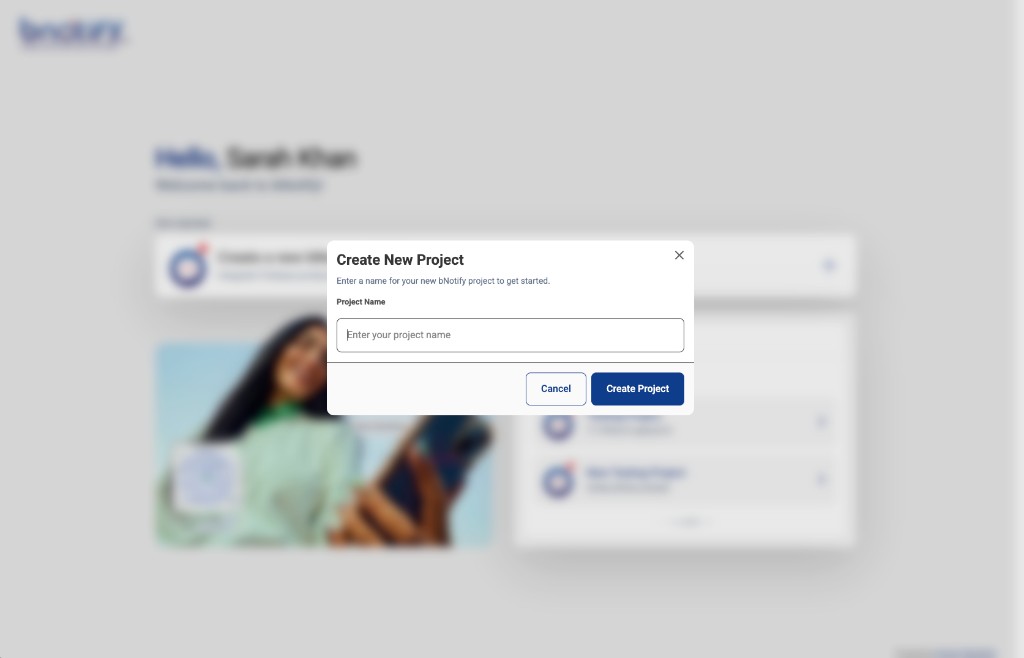
In the dialog, enter a Project Name and click Create Project.
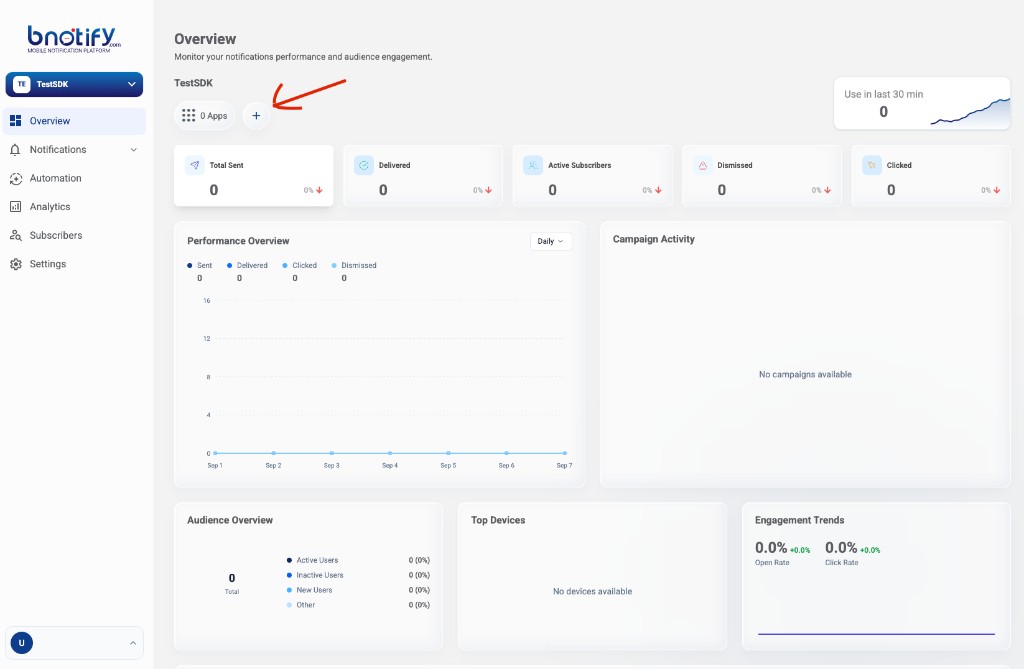
The project Dashboard / Overview opens as soon as the project is created.
Step 3 — Add an app
On Overview, a new project shows 0 Apps. Click the circular Plus (+) button next to it.
You will see platform options:
- iOS — live SDK
- Android — live SDK (used in this example)
- Web — coming soon
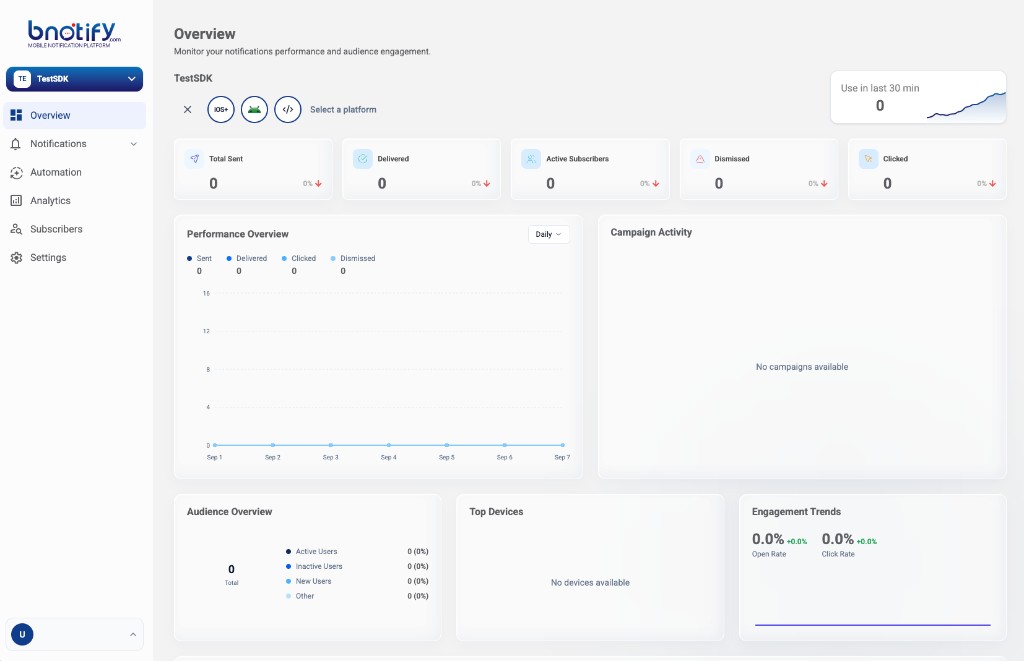
For this walkthrough, choose Android. That opens the Add App wizard.
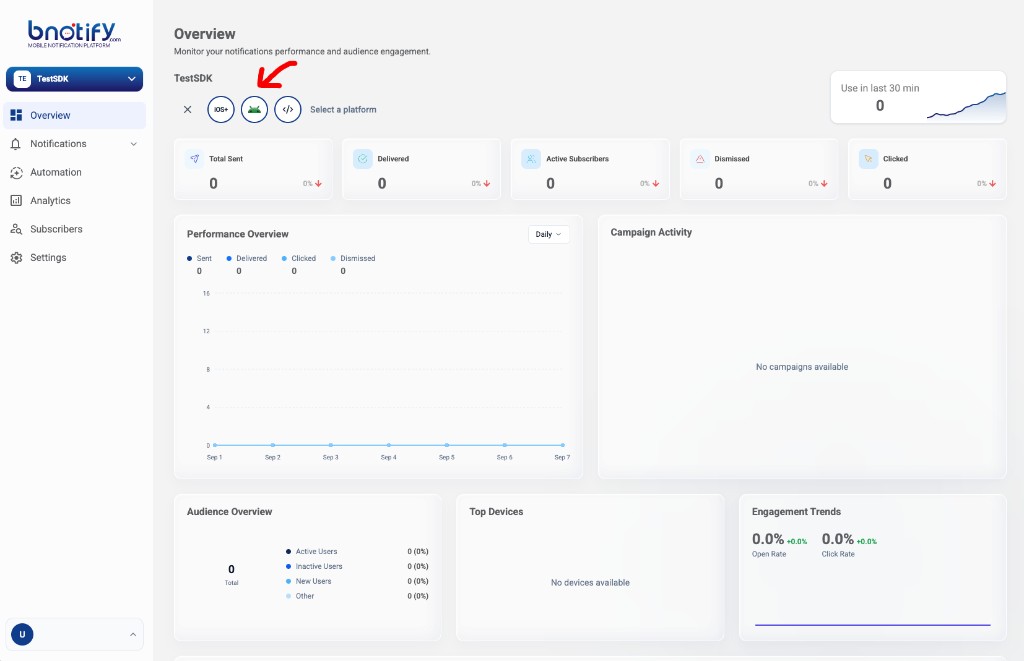
Step 4 — Register the Android app
Fill in the Register app form. All of these fields are required:
| Field | What to enter |
|---|---|
| Android package name | Your app’s package, e.g. com.company.appname |
| App nickname | A label for this app in the Console |
| FCM Project ID | From your Firebase / FCM project settings |
| FCM App ID | From your Firebase / FCM app settings |
| FCM API Key | From your Firebase / FCM project settings |
| FCM Sender ID | From your Firebase / FCM project settings |
| FCM private key (.json) | Upload the service-account JSON from Firebase |
Click Register app.
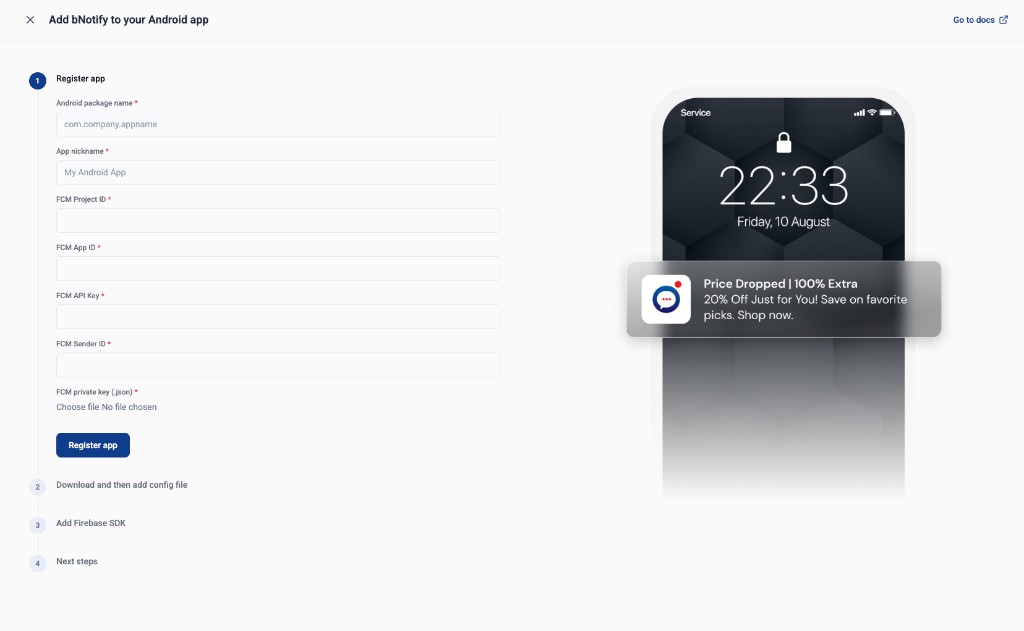
Step 5 — Download the BNotify JSON file
After registration, the wizard asks you to download the BNotify JSON config file. Download it and keep it — you will add it to your Android (or Flutter) project as app/bnotify-config.json.
Step 6 — Finish the remaining wizard steps
Click Next through the remaining Console steps until the wizard completes. Your Android application is then created and configured in the BNotify Console.
Place the downloaded JSON in your app, then follow the Android integration guide, the iOS guide, or the Flutter guide if you are building a Flutter app (you still register both Android and iOS apps in Console).
iOS, Flutter, and Web
The same flow applies: Plus (+) → pick a platform.
- iOS — register the app in Console, download
bnotify-config.plist, then follow iOS integration. - Flutter — register Android and iOS apps, download both config files, then follow Flutter integration (
bnotify_flutteron pub.dev). - Web — listed in Console; the Web SDK is coming soon.